100: Environment Setup
Note: API Connect is installed with self-signed certificates, which most browsers do not like. We recommend that you complete these labs an incognito or private browser window.
The environment for labs 101 and 102 is not yet accessible to business partners and must be facilitated as part of an IBM workshop. Labs 103 (the L3 badge lab) and 104 are facilitated with a TechZone environment that is available for IBM business partners, but an IBM workshop may still utilize a shared environment.
Cloud Pak for Integration Platform Navigator
The Cloud Pak for Integration Platform Navigator is a web-based application that allows you to access all the components in CP4I. For shared environments, your instructor will provider you with a URL for the CP4I Platform Navigator and login credentials. You will need this link to access all the CP4I components that you will use in the labs. We recommend that you keep it open in a separate tab.
To log in to the Platform Navigator do the following:
-
Navigate to the URL provided to you by your instructor for the Platform Navigator.
-
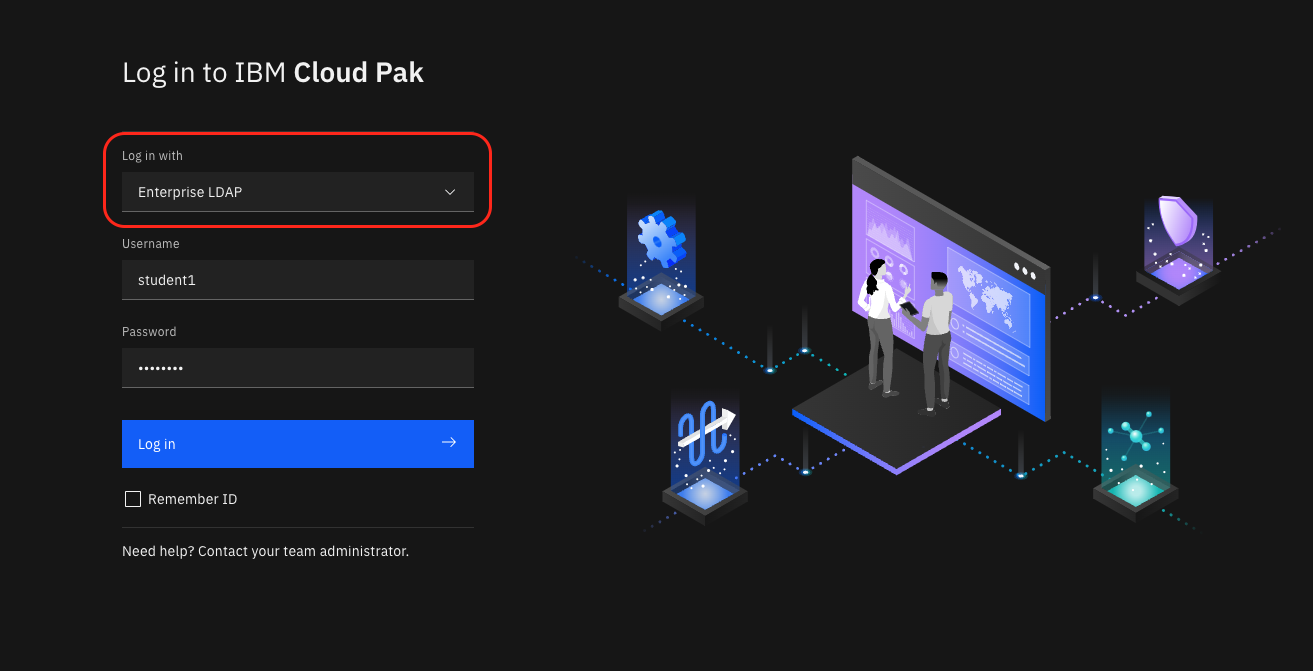
Select the Enterprise LDAP user repository, enter your username and password and click on Log in
-
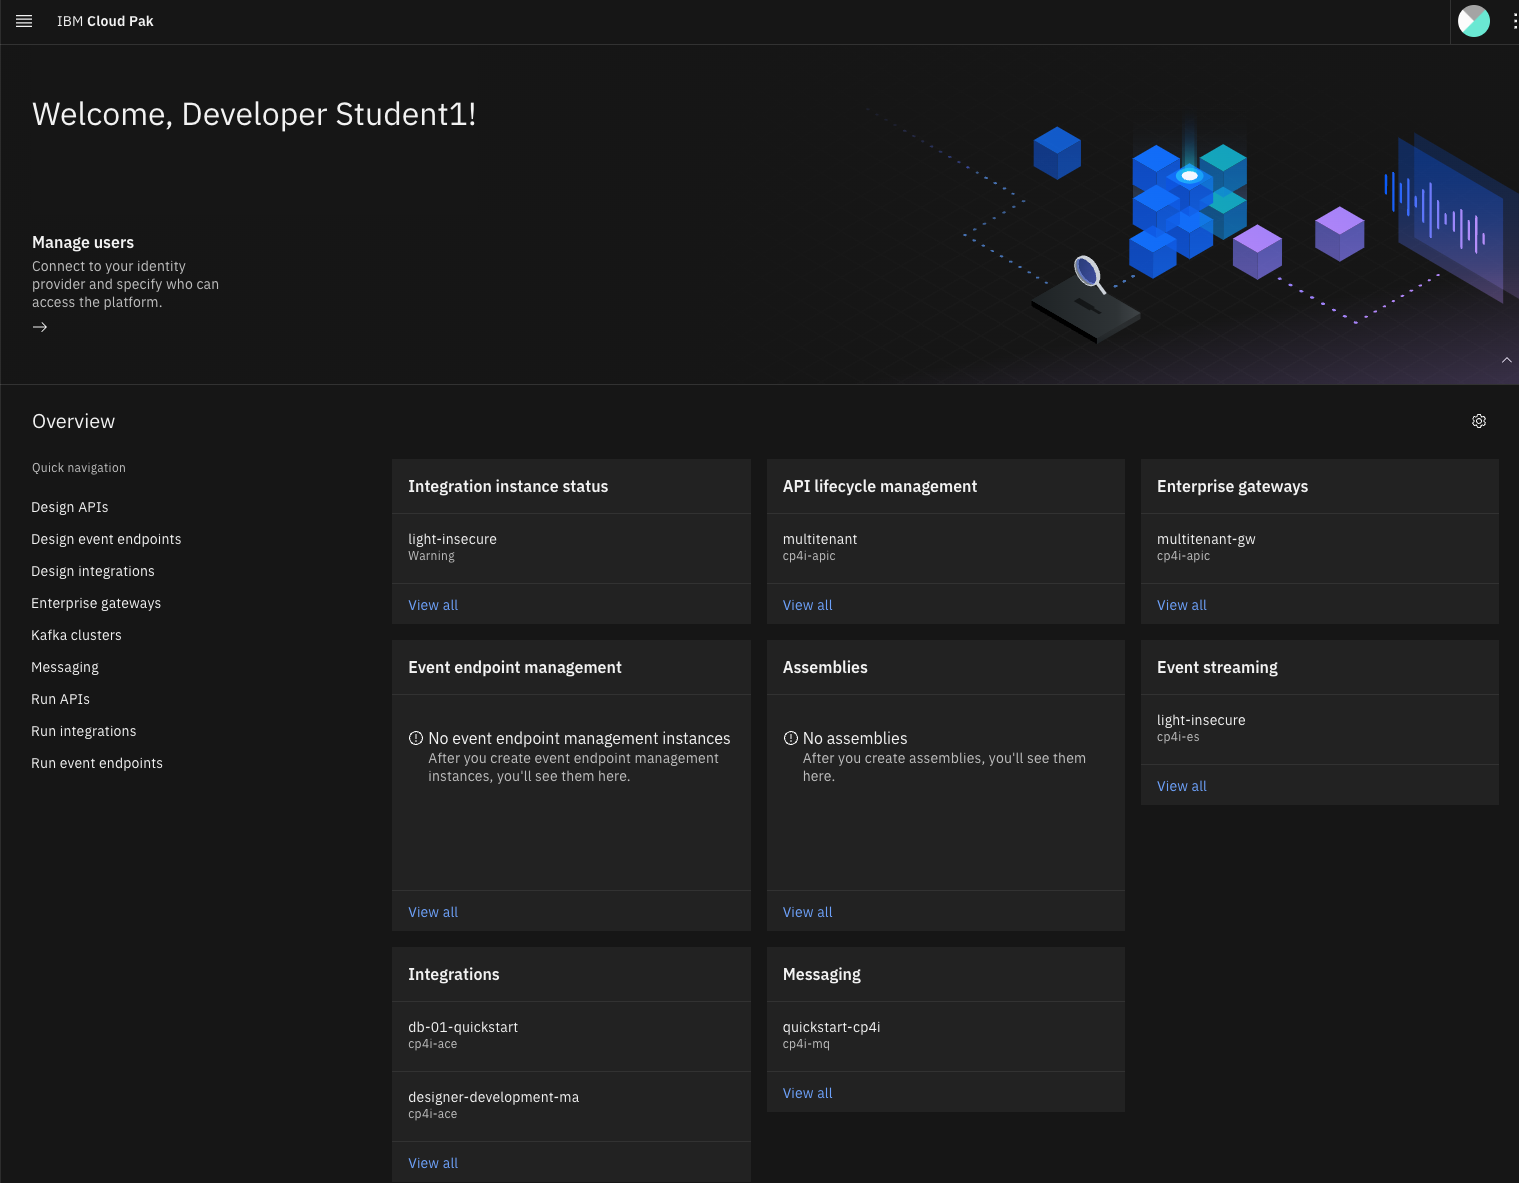
The will launch the CP4I Platform Navigator with links to all the various CP4I components. Keep this tab open for the rest of the workshop as it has all the information and links needed for you to complete the lab exercises.
OpenShift Cluster Console
You will need to access the OpenShift console to install applications used in the lab to interact with the CP4I components. For shared environments, your instructor will provide you with a link. Click on the link for the OpenShift console.
-
Navigate to the URL provided for the OpenShift console.
-
Select the ldapidp user repository

-
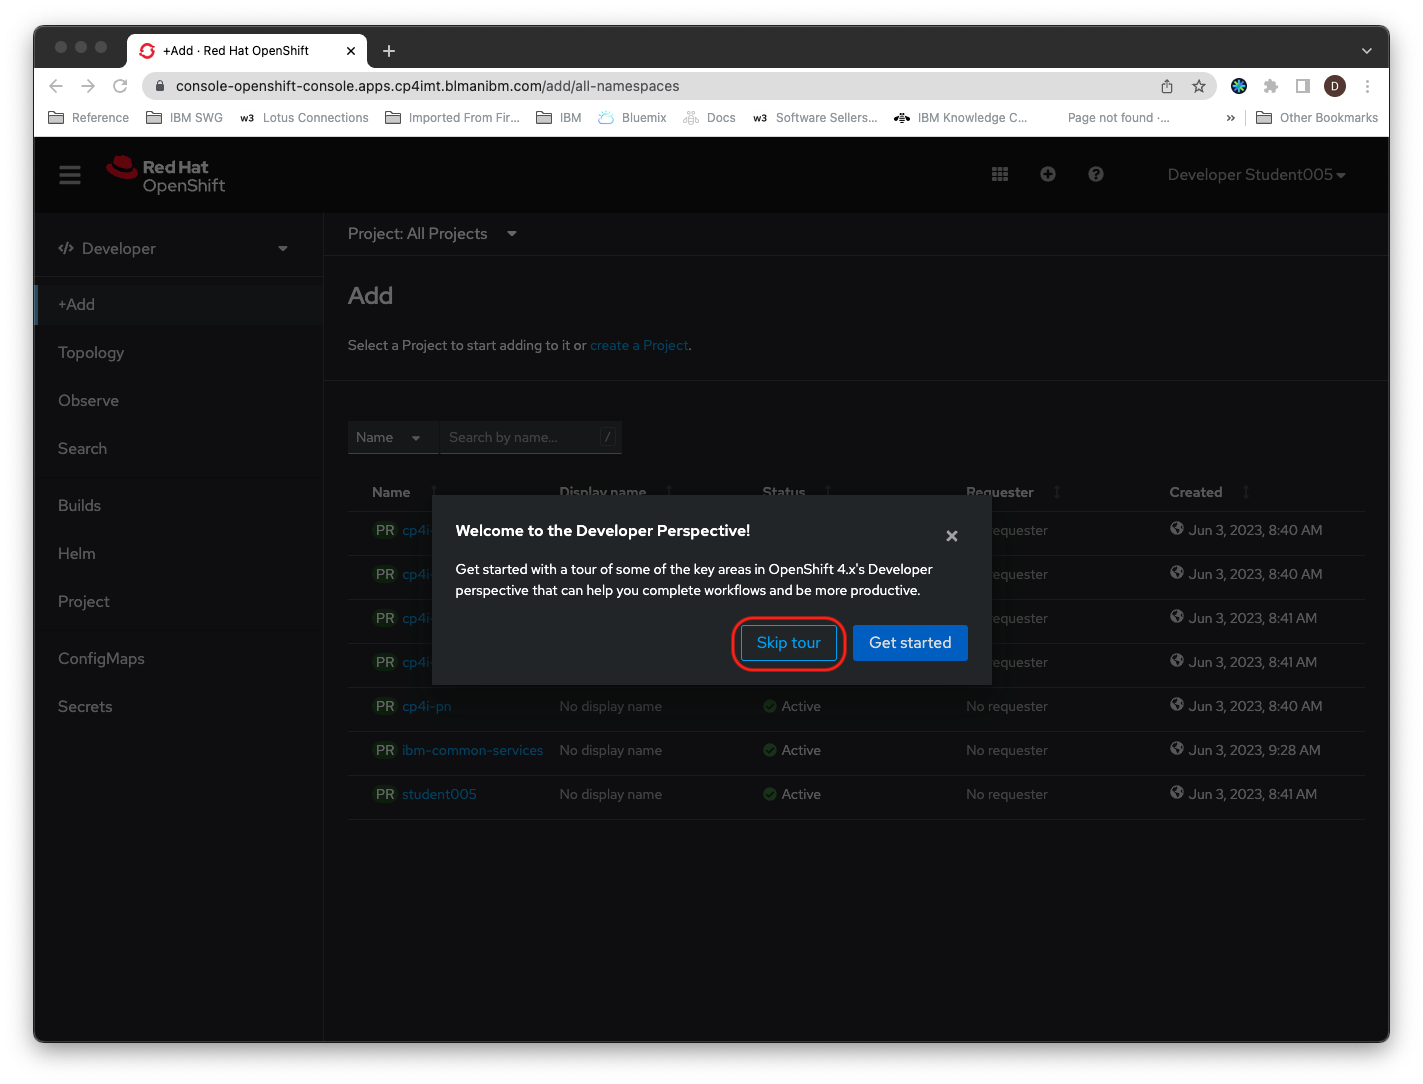
Enter the same username and password you used in the previous step and click on Log in.
-
Click on Skip tour when prompted
-
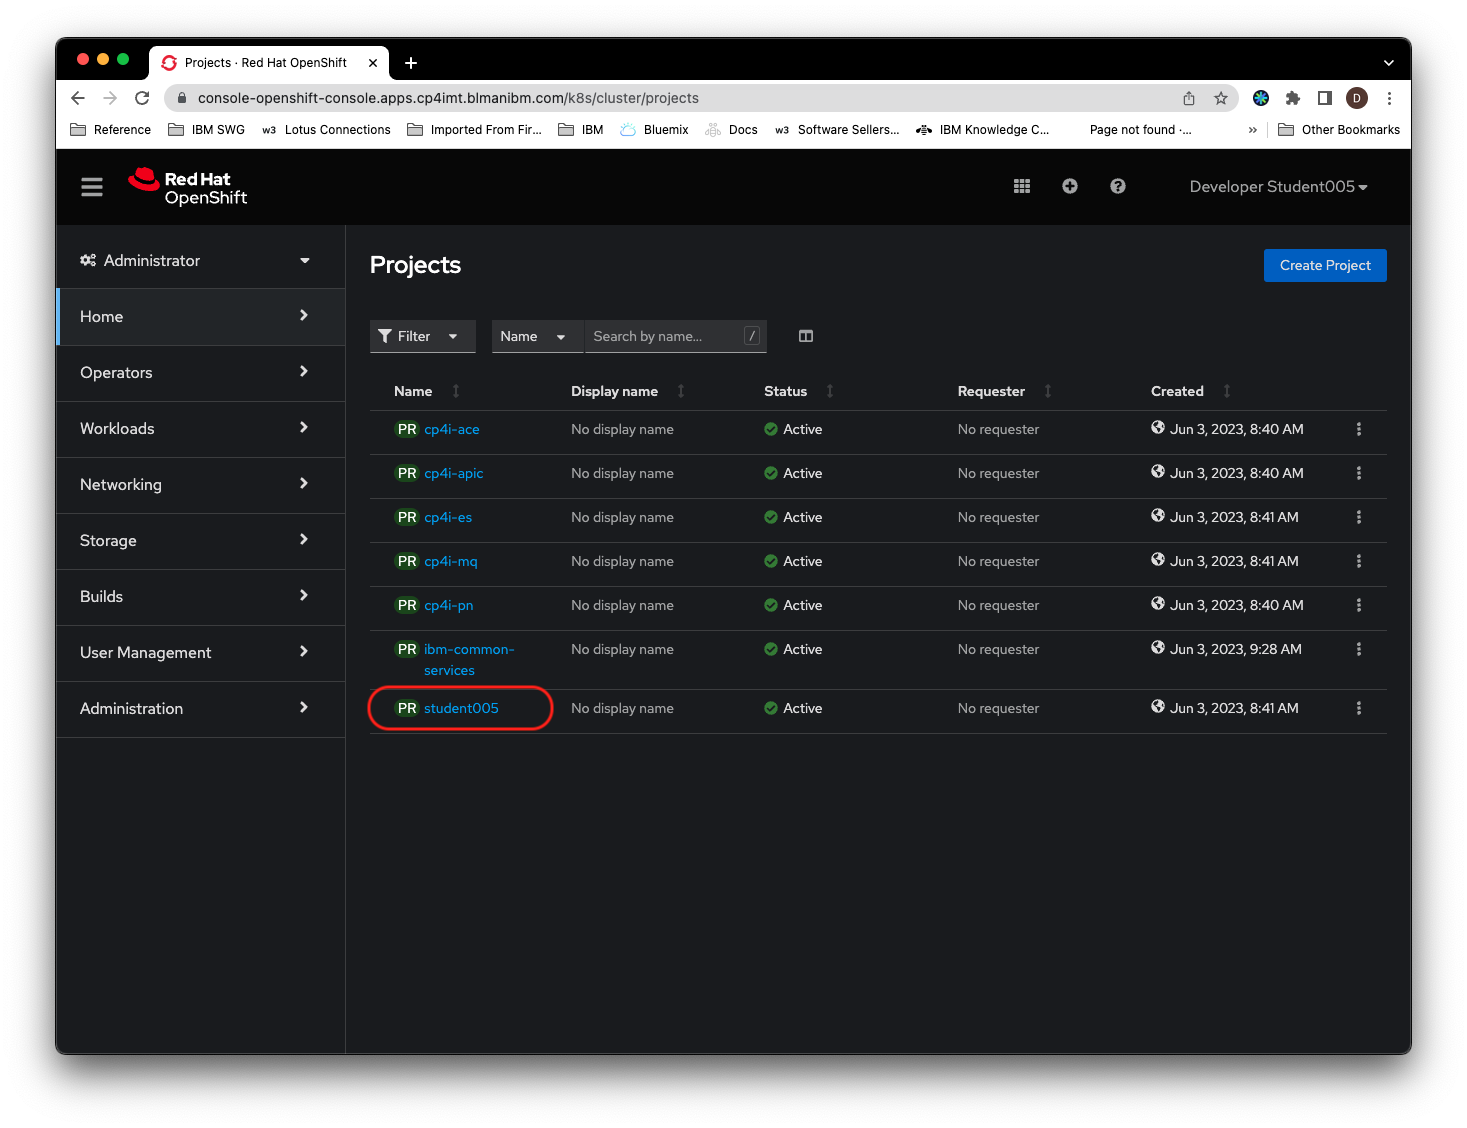
Switch to the Administrator view

-
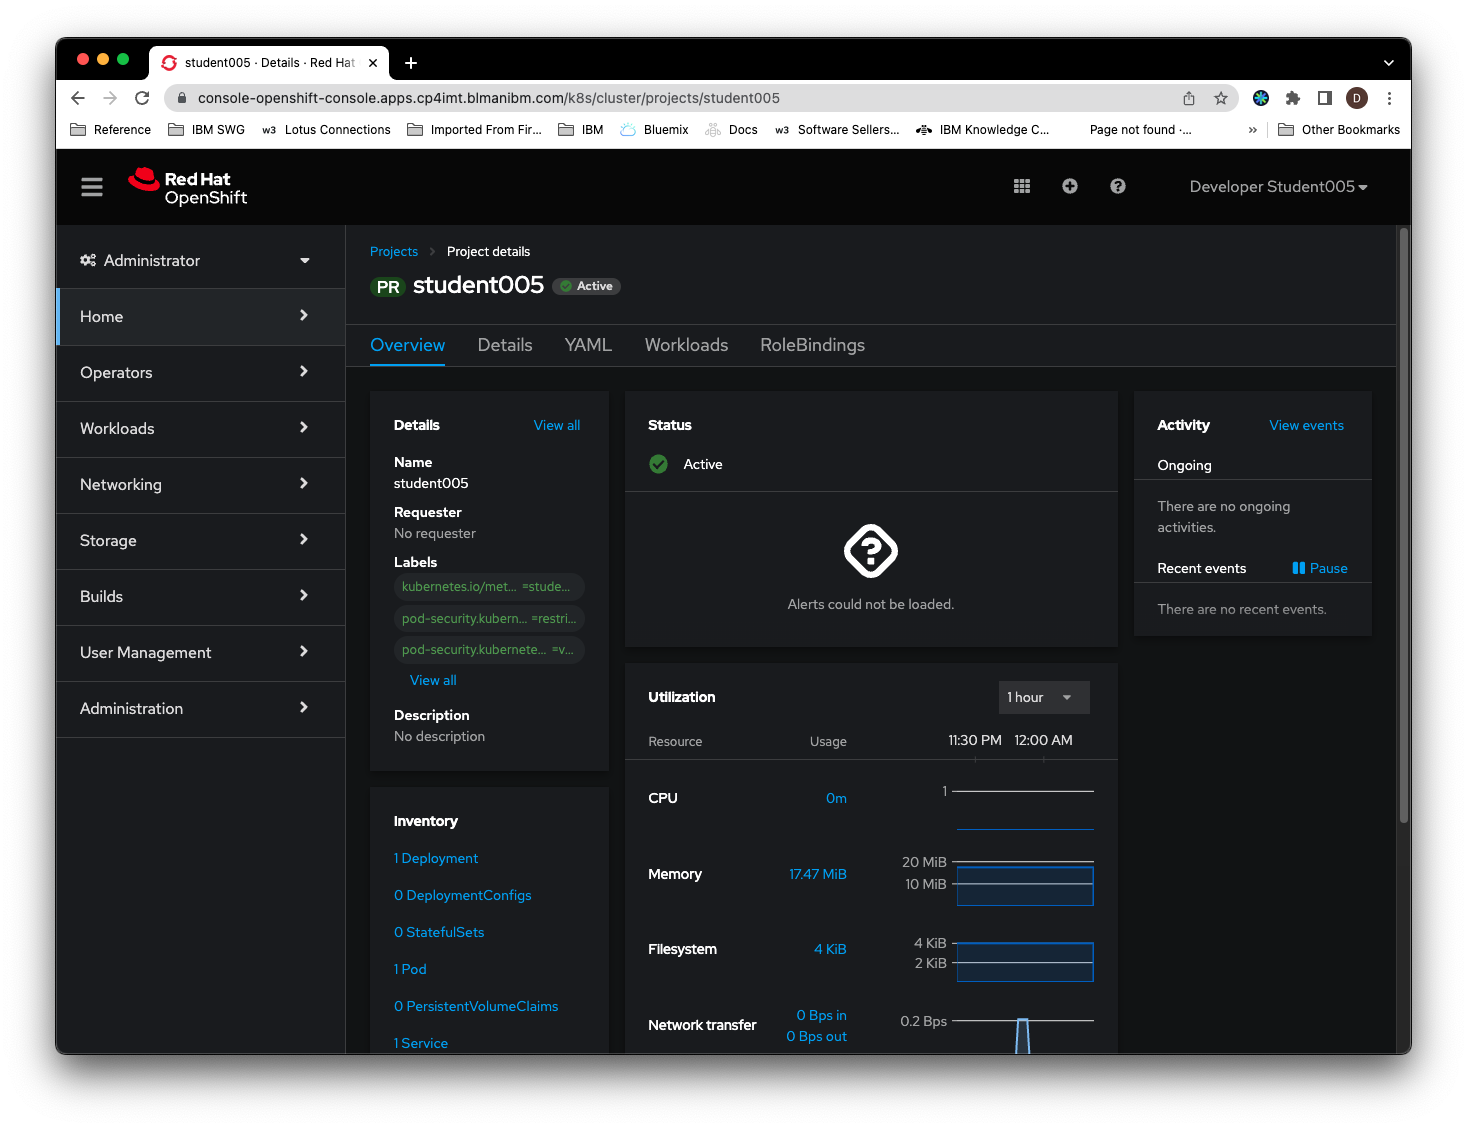
Click on the link for the project with the same name as your username.
-
The OpenShift console should now look like the following image. Keep this browser tab open as you will need to use the OpenShift console during the labs
Note: You can click on any image in the instructions below to zoom in and see more details. When you do that just click on your browser's back button to return to the previous state.