101: Introduction and Prerequisites
Introduction
As a data steward, you are assigned to the analytics project that has been tasked with doing deeper analysis and AI to determine what might be causing the significant drop in customer satisfaction over the last year. Based on metrics available on the executive dashboard, management can clearly see that there was a drop in order fulfillment and increased shipping times and customers have been complaining about it in their surveys and to customer service.
In order to investigate this further, the analytics team is requesting employee data, data related to staff members working in the warehouse, and supporting logistics data related to warehouse staff availability and shifts. The data request specifies that the team needs the following data to perform the analytical and AI tasks to deliver on their business objectives:
Before the analytics team can begin doing business analytics, and building and training machine learning and AI models to help determine the decline in customer satisfaction, it’s important to understand and trust the data. The analytics and resulting outcomes are only as good as the data. The best data is data that is fully understood and trusted and just because you can access the data doesn’t mean that it’s prepared for AI use cases.
To satisfy the project team's request to meet their analytical goals, you will use the Data governance capabilities of IBM's data fabric solution, Cloud Pak for Data, that are provided by Watson Knowledge Catalog, to ensure the data needed is easily found and accessible from a trusted source, that the data content is of the highest quality, and can be fully understood, and that any confidential, personal or sensitive information is governed and protected with no risk of being exposed to those who do not have the authority to access or view it.
To accomplish this, you will perform the following tasks:
-
Define and publish the following governance artifacts to the Business Glossary:
- Categories
- Classifications
- Data Classes
- Business Terms
- Reference Data
- Policies
- Data Governance Rules
- Data Protection Rules
Data classes and business terms can be leveraged and assigned during the metadata enrichment process as data assets are automatically profiled, so data consumers can get a better understanding of the data content and business context.
There are two types of rules: Data governance and Data protection. Data governance rules are only descriptive and are not enforceable, must be assigned to a category, and can be imported using a CSV file. Data protection rules are enforceable and actionable, are not assigned to a category, cannot be imported, and reside outside of the governance artifact category hierarchy. Data protection rules autonomously enforce data privacy actions, without any human intervention, to eliminate the risk of confidential, personal, and sensitive information being exposed to those who are not authorized to access or view it.
-
Discover and import the data assets needed using the automated Metadata Import process.
-
Enrich the metadata of the data assets needed using the Metadata Enrichment processes to automatically:
- Profile data content
- Access data quality
- Assign data classifications
- Assign business terms
-
Publish the data assets to a governed catalog.
-
Augment and socialize the cataloged data assets.
Prerequisites
1. Download the Lab Files
In the Build the Business Glossary section of this lab, you will be instructed to use a series of governance artifact CSV files. These files have been predefined and are provided for you in a zip file that is located in the IBM Data and AI Live Demos GitHub repository. Before proceeding, click on the link below to download the zip file:
Data-Governance-Privacy-L3-Tech-Lab.zip

- Click the Download button.
When the download is complete, go to the download location and unzip the Data-Governance-Privacy-L3-Tech-Lab.zip file on your system. Remember where you extracted the files because you will be instructed to select them by name throughout the Build the Business Glossary section of the lab.
Unzipping the file will create a directory named Data-Governance-Privacy-L3-Tech-Lab that will contain the following CSV files:
2. Log in to Cloud Pak for Data
If you have not already done so, using the instructions and the screen shots below, Log in to IBM Cloud Pak for Data. You will use your personal Cloud Pak for Data as a Service account in the Dallas region to do the lab.

-
Using the Work with resources in this IBM Cloud region: dropdown, select the Dallas region.
This is very important because all of the cloud services that you were instructed to provision in the data fabric lab Getting started section should be provisioned in the Dallas region.
-
Enter your IBM Id that you used to sign up for Cloud Pak for Data.
This is your personal IBM Cloud Id. If you have logged in to Cloud Pak for Data previously, and checked the Remember IBMid check box, it may already be filled in for you. If you have multiple Cloud Pak for Data accounts, you can click inside the IBMid area above the Continue button and a list of available IBM Ids will be displayed for you to choose from.
-
Click the Continue button.
If your IBM Id is recognized as an IBM w3id (internal IBM w3 intranet id), you will be prompted to enter your password using the w3id on IBM Security Verify dialog:

-
Enter the password for your IBM w3id.
-
Click the Sign in button.
If your IBM Id is not an IBM w3id, you will be prompted to enter your password using the standard IBM Security Verify dialog:

- Enter the password for your IBM Id.
- Click the Log in button.
3. Validate Your Environment
You will be brought to the Cloud Pak for Data home page. If at any point during these instructions you get a pop-up message from Cloud Pak for Data asking to guide or assist you, dismiss it and simply follow the steps in the instructions.
Make sure you are in your personal cloud account
You can be a member of many cloud accounts. This lab is done using your personal cloud account, so you want to ensure you are in the correct account before you proceed with the lab.

The account displayed on the toolbar should show Your cloud account ID - Your name. For example, in the screen shot above, the personal account is 1792871 - Rick Buglio. If your personal account is selected, like the screen shot above, you can proceed to the next step. If not, follow the instructions below to switch to your personal account.

In the screen shot above, the user is in the Techzone Outcomes cloud account and needs to switch to their personal account. This is a common scenario because IBM sellers and business partners could still have a reservation in the Data and AI Live Demos, Techzone Outcomes, cloud account to do the Data Fabric Level 2 sales demos. When you login to Cloud Pak for Data, it remembers the last account you logged into, so its a good practice to check what account you are in before proceeding.
Using the Cloud account dropdown on the toolbar, select Your personal cloud account.
Make sure you are in the Dallas region
This is very important. Based on the Getting started instructions, you should have the Watson Knowledge Catalog and Watson Studio services provisioned in the Dallas region. At a minimum, you need these two services provisioned in your cloud account in the Dallas region to do this lab.
You cannot work across cloud service regions in Cloud Pak for Data as a Service. Only Global services, like Cloud Object Storage, can be used across cloud service regions. The majority of this lab is done using Watson Knowledge Catalog, but it also relies heavily on a Watson Studio project to do metadata import and enrichment, and to publish assets to a governed catalog. Therefore, you must have the ability to create projects and catalogs, and use all the features of Watson Knowledge Catalog, and be able to publish from a project to a catalog that reside in the same region in the same account.

In the screen shot above, the region is set to London. The region needs to be set to Dallas. If your region is not set to Dallas, perform the following steps:
Using the Region dropdown on the toolbar, select the Dallas region.
4. Check Lite Plan Limits
This lab uses the Lite service plan of Watson Knowledge Catalog. The Lite service plan has the following limitations:
- You can only create 2 catalogs
- You can only create 10 categories
- You can only create 300 business terms
To provide you with the most in depth introduction to the capabilities and differentiators of Watson Knowledge Catalog, you will need the ability to create 1 Catalog, 3 Categories, and 150 Business Terms. The steps in this section will instruct you on how to verify the catalog, category, and business term capacity in your environment to successfully complete this lab.
After performing the verification steps below, if your environment does not meet the capacity requirements, please notify a team member who is supporting this workshop.
Verify Category Capacity
The Lite plan of Watson Knowledge Catalog has a limit of 10 categories. That limit includes sub-categories and it counts the [uncategorized] and Locations system categories, created by Watson Knowledge Catalog, as part of the 10 category limit, so you really only have the ability to create 8 new categories.
The [uncategorized] category contains the 165 predefined data classes and 4 classifications supplied by Watson Knowledge Catalog. The Locations category contains the predefined reference data sets that provide the physical location and sovereign location that you select when you are designing data location rules to move data from one location to another. Data location rules are still in the experimental stage, so they will not be covered in this lab, but the Locations category is still included and counts towards your 10 category maximum.
This lab imports and creates 3 categories to showcase cross category dependencies and relationships, and the use of sub-categories, so you can experience the advantage of using the automated import method without having to create everything manually.
Before you begin the lab, follow the steps below to ensure you have enough category capacity available:

- Select the Navigation menu (the 4 stacked horizontal lines in the upper left corner).

- Select Governance > Categories from the menu.

- Select the category explorer icon in the upper left corner to open the explorer tree view.

Note: Your category explorer view will not look exactly like the example in the screen shot above, but you will be able to determine how many open category slots you have by fully expanding all levels of categories in the tree to expose any sub-categories.
In this account, there are 6 categories created. The system supplied [uncategorized] and Locations categories, one parent category and 3 sub-categories. Therefore, it has the capacity to import and create the 3 new categories in the CSV file provided.

It is very unlikely that you don't have 3 category slots available. Most likely, your environment will look like the screen shot above with just the 2 system categories of [uncategorized] and Locations since you probably have a newly provisioned Watson Knowledge Catalog service with an empty business glossary.
Verify Business Term Capacity
The Lite plan of Watson Knowledge Catalog has a limit of 300 business terms. This lab imports, and creates, 150 business terms to have a complete, and meaningful business glossary, with a term defined for every column of the data assets that will be added by the metadata import process, so they can be leveraged by the metadata enrichment process.
Before you begin the lab, follow the steps below to ensure you have enough business term capacity available:

- Select the Navigation menu (the 4 stacked horizontal lines in the upper left corner).
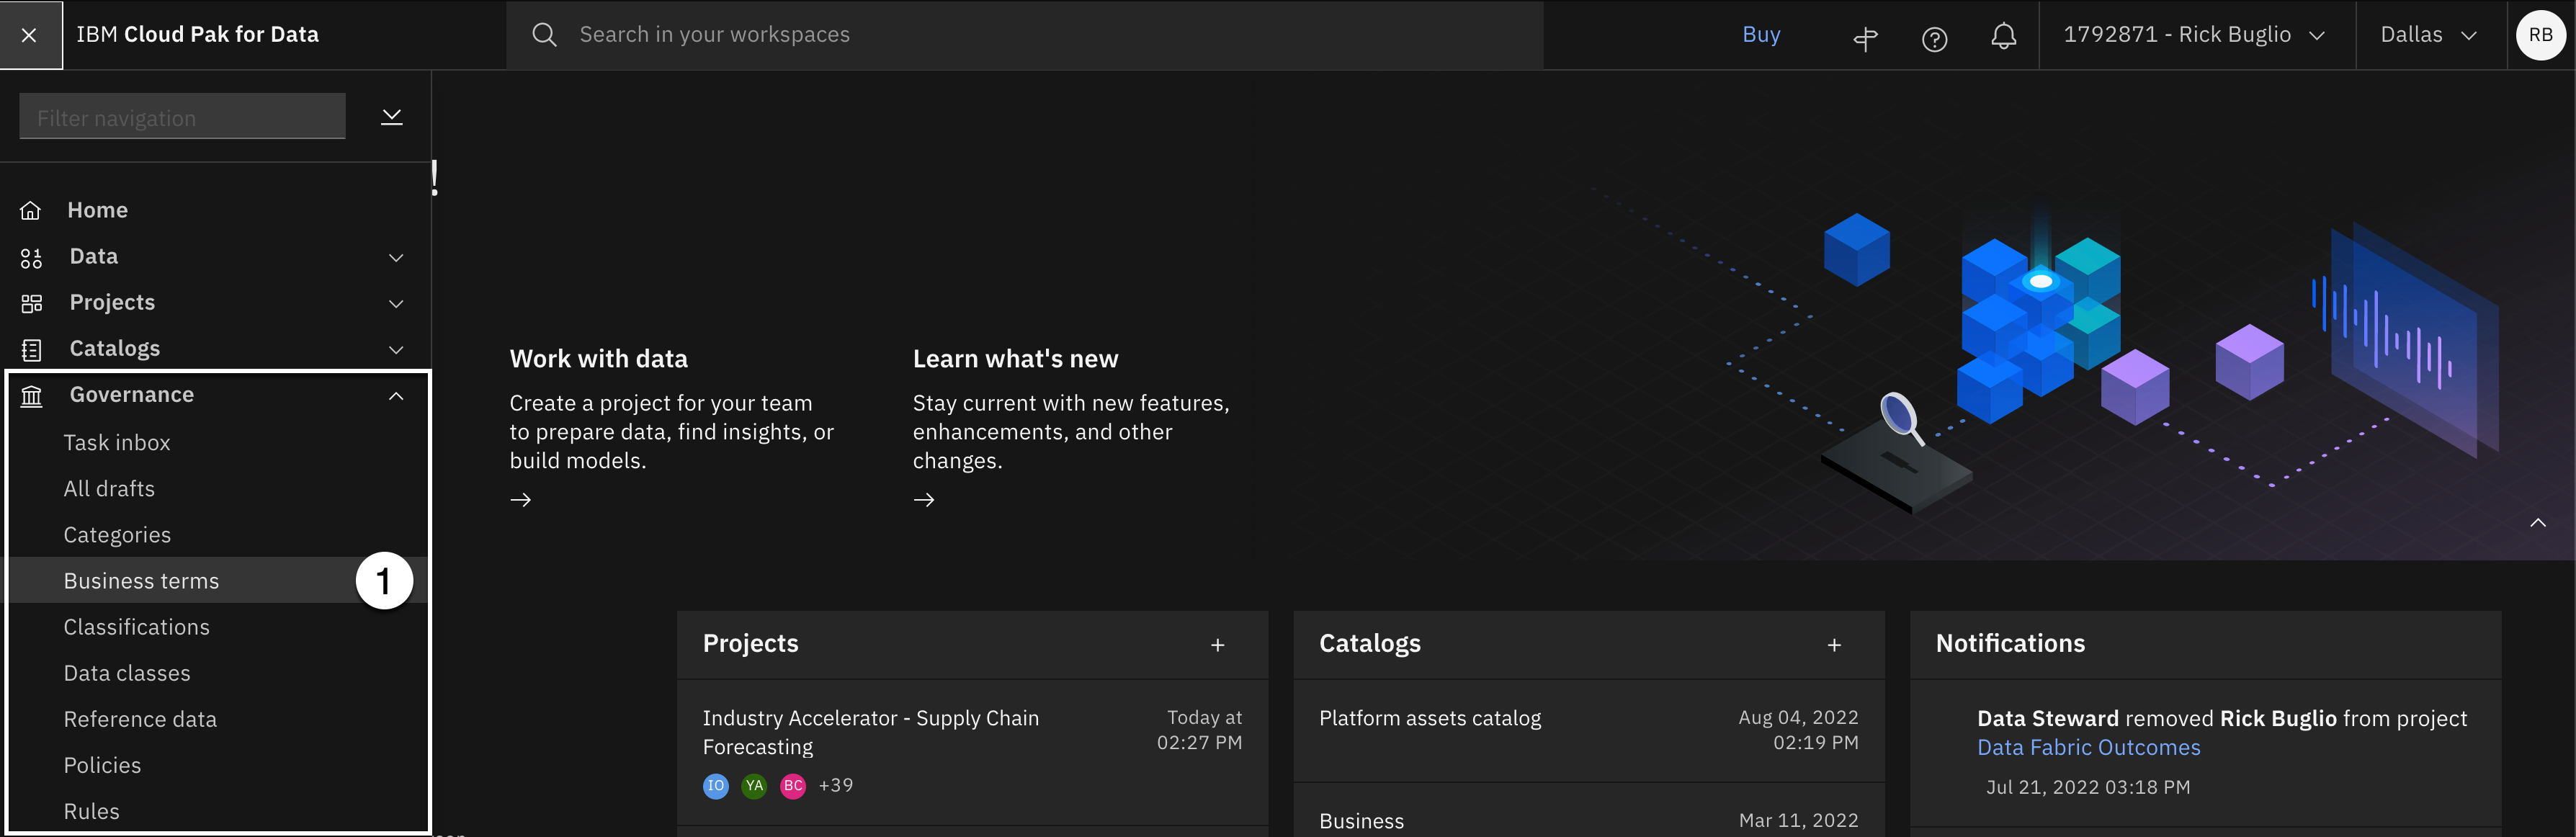
- Select Governance > Business terms from the menu.

If you have a newly deployed Watson Knowledge Catalog service, your environment will look like the screen shot above with no published business terms. If so, you will be able to successfully import and create the 150 new business terms in the Create Business Terms section below.

-
If your environment has some published business terms like the screen shot above:
a. Scroll down to the bottom of the page.
b. Look at the total number of accessible business terms that are published and make a note of how many you have.
If the number is less than or equal to 150 you will be able to successfully import and create the 150 new business terms in the Create Business Terms section below.
Verify Catalog Capacity
The Lite service plan of Watson Knowledge Catalog only allows for 2 catalogs to be created in addition to the Platform assets catalog. This lab creates 1 new catalog that will contain the published data assets for the lab.
Before you begin the lab, follow the steps below to ensure you have enough catalog capacity available:

- Select the Navigation menu (the 4 stacked horizontal lines in the upper left corner).

- Select Catalogs > View all catalogs from the menu.

It is more likely that your environment will look like the screen shot above with just the Platform assets catalog because you probably have a newly provisioned Watson Knowledge Catalog service.

Your environment might also look like the screen shot above. This environment has 2 catalogs from the Techzone Outcomes cloud account because the account owner has an active reservation in Technology Zone for the Data fabric demo. The account owner does not own these catalogs so they do not count against the 2 catalog limit, and 2 of the catalogs are Platform asset catalogs which do not count towards the catalog limit. Therefore, this account has the ability to create a new catalog.
If you already have 2 catalogs in addition to the Platform assets catalog, and you cannot create a new one, you can do the following:
a. Use an existing catalog that you own and have full administer rights to, and very importantly, that has the Governed flag enabled so data protection rules will be enforced.
b. Delete an existing catalog, if you can, to make room for the new catalog this lab creates.
If your environment meets all of the capacity requirements, you are ready to begin the lab! Otherwise, please notify a team member who is supporting this workshop.