100: Getting Started
Technical Lab Preparation
This section instructs you on how to prepare your IBM Cloud and Cloud Pak for Data as a Service environments to perform the Data and AI Data fabric labs.
These tasks are a prerequisite in order to perform any of the Data fabric labs successfully. These labs are not done in the shared, multi-user, pre-configured Data and AI Live Demos environment. That environment, which requires a reservation request, is primarily a read only environment that is used exclusively for the Data fabric demos. These technical labs require more flexibility and this is why you have to prepare your own Cloud Pak for Data accounts to do these labs.
You will need an IBM Cloud and IBM Cloud Pak for Data as a Service account to do these technical Data fabric labs. Depending on your account status, follow the steps below so you can use your personal IBM Cloud and Cloud Pak for Data as a Service account. This ensures that there will be zero conflicts with other users and services, that you have the proper cloud and Cloud Pak for Data as a Service privileges, and that no special naming conventions or processing will be needed for you to complete these technical labs.
To prepare your personal IBM Cloud and Cloud Pak for Data environments for these technical labs, you will perform the following steps:
-
Setup your personal IBM Cloud account.
-
Setup your personal IBM Cloud Pak for Data as a Service account.
-
Provision the IBM Cloud and Cloud Pak for Data as a Service Lite services.
-
Create the Cloud Pak for Data Platform assets catalog.
-
Create the Platform connections to the Data and AI Live Demos data sources.
Warning: Cloud Pak for Data does not support Apple's Safari browser. You must use one of the following supported browsers:
- Mozilla Firefox (recommended) - Version 69 and higher
- Google Chrome - Version 80 and higher
- Microsoft Edge - Version 95 and higher
Obtain an IBM Cloud Account
If you have an IBM Cloud account you can skip this step.
If you do not have an IBM Cloud account, click this link to create one. After registration, you will be sent an email to activate your account. This can take a few hours to process. Once you receive the confirmation email, follow the instructions provided in the email to activate your account.
Sign Up for Cloud Pak for Data
The Data and AI Live Demos use Cloud Pak for Data services that are provisioned in the IBM cloud Dallas service region. This means you must use Cloud Pak for Data in the Dallas region, and register you account for a Cloud Pak for Data as a Service account in the Dallas region to do the Data fabric labs, even if you have an account in another region.
If you have an IBM Cloud Pak for Data as a Service account in the Dallas region you can skip this step.
If you have not signed up for an IBM Cloud Pak for Data as a Service account in the Dallas region, click this link to sign up for one in the Dallas region.
Follow the instructions below to complete the account registration process and setup your account in the Dallas region:

-
Use the Select a region dropdown to select the Dallas region for your Cloud Pak for Data instance.
-
Select the checkbox to agree to the terms.
-
Click the Log in with your IBMId button.

-
Enter your IBMid. This should be your IBM Cloud Id.
If you have previously logged in to Cloud Pak for Data and checked the Remember IBMid check box, it may already be filled in for you. If you have multiple Cloud Pak for Data accounts, you can click inside the IBMid area above the Continue button and a list of your available IBM Ids will be displayed for you to choose from.
-
Click the Continue button.
Note: If prompted, and depending on the authentication method you are presented with, enter your IBMId or IBM w3id password.

If you have not logged in to Cloud Pak for Data in a while, you might be presented with an IBM Privacy Statement that you have to agree to. If so, follow these steps:
-
Scroll down to the bottom of the privacy statement page.
-
Click the Proceed button.
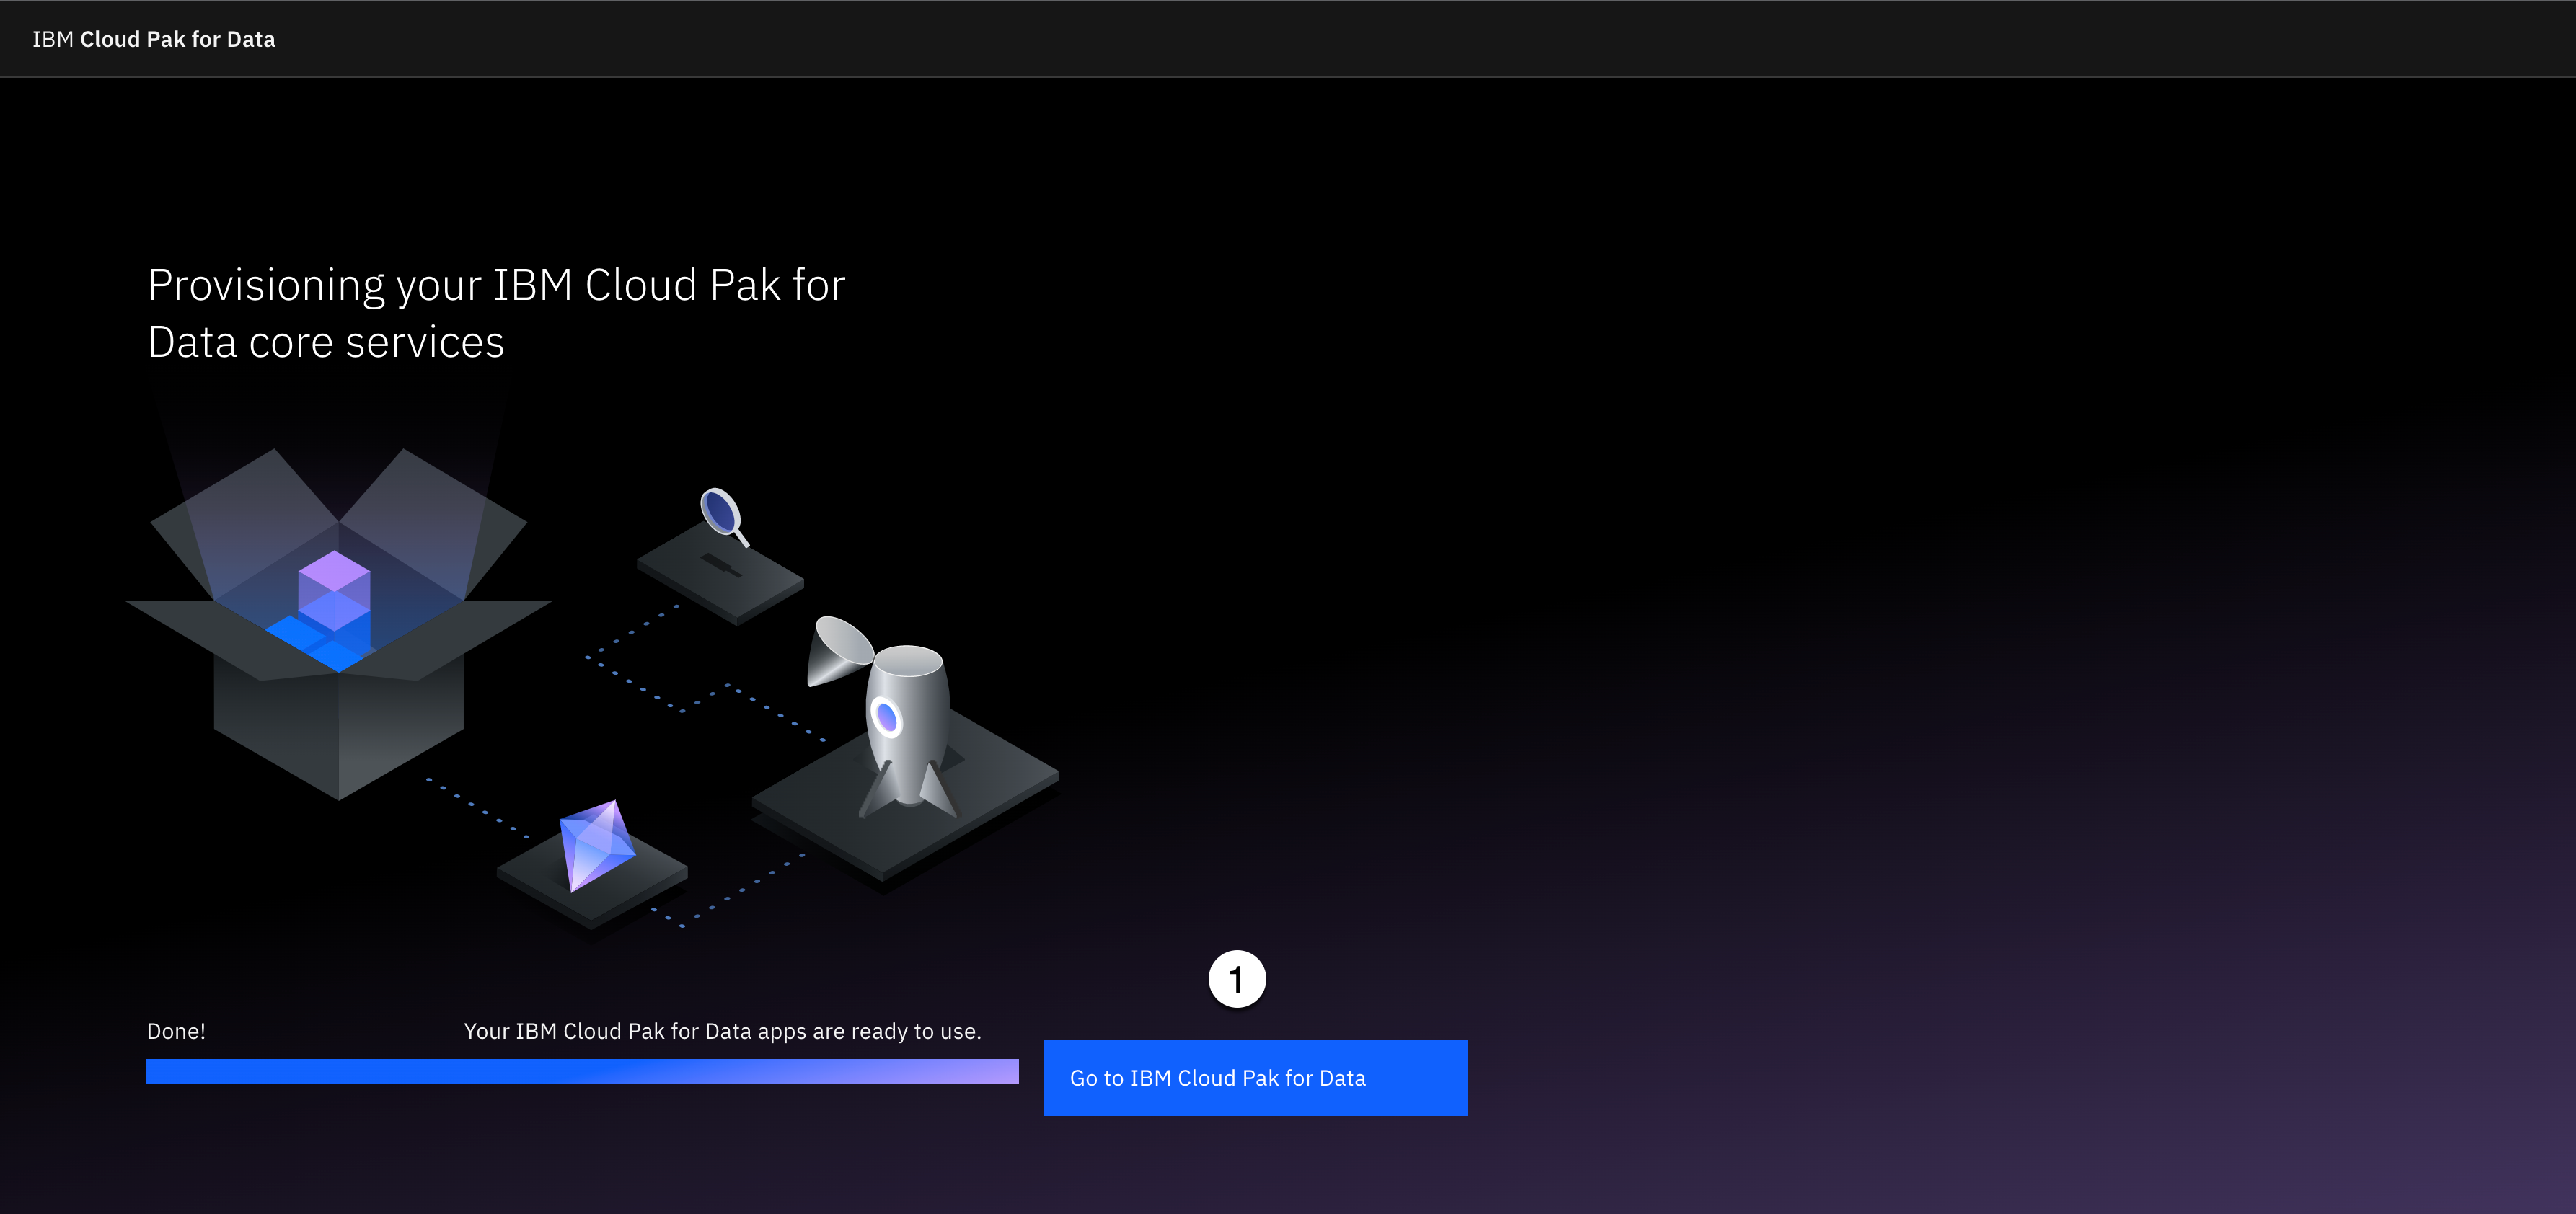
You will see the Provisioning your IBM Cloud Pak for Data core services screen with a progress bar.
When Done! appears above the progress bar with a message of: Your IBM Cloud Pak for Data apps are ready to use:
- Click the Go to IBM Cloud Pak for Data button.

If you are presented with a Welcome to Cloud Pak for Data! dialog:
- Click the Skip for now button.
Now that you have an activated IBM Cloud account and have registered for a Cloud Pak for Data account in the Dallas region, you can proceed to the next step to request a reservation.
Provision the Services
This step instructs you on how to provision the free IBM Cloud and Cloud Pak for Data Lite services that you will need to perform the technical Data fabric labs. These instructions were created using an empty IBM Cloud and Cloud Pak for Data account with no services provisioned for the benefit of those who have never setup their accounts with provisioned services. Therefore, your environment may look different than the screen shots in these instructions, but the end result should be the same.
Not all of the Lite service plans are in every cloud service region. For example, the IBM Match 360 with Watson and Watson OpenScale services are only available in the Dallas region. DataStage is only available in the Dallas and Frankfurt regions. Therefore, as you can imagine, this is a chaotic matrix of service availability. Therefore, to ensure inclusion, consistency, simplicity, and predictability, the Data fabric labs requires that all of the Lite services are provisioned in the Dallas region.
Some services take longer than others to provision, so do not be alarmed if a service status does not instantly appear after you provision them, or they have a status of Provisioning. By the time you are done provisioning all the required services they should all be in an Active status.
Lastly, if you make a mistake and choose a pricing plan other than the Lite plan, or assigned a service to the wrong resource group, you can delete the service from the Cloud Pak for Data Services instances section and re-provision the service again. All other changes, like renaming a service, have to be managed from your IBM Cloud account.
1. Required Services
For the technical labs, you will need to provision the following services:
Note: If you already have any of the services listed above already provisioned in your cloud account in the Dallas region, you can skip provisioning that service.
All of the services listed in the table above can be provisioned and maintained directly from the Services section of your Cloud Pak for Data account. After provisioning these services, you will remain in your Cloud Pak for Data account except when you provision the Cloud Object Storage service (which is why you provision it last). Since the Cloud Object Storage service is a global cloud service, Cloud Pak for Data will take you to your IBM Cloud account in a new tab (or window) in your browser to provision it.
2. DataStage Service
The following instructions walk you through provisioning the DataStage service as an example. The remaining service provisioning instructions do not supply detailed screen shots. Only the required service properties and suggested names will be supplied to provision the remaining 8 required services. With that in mind, take the time to follow the detailed DataStage instructions so the other services will be easy to provision.

- In your Cloud Pak for Data home screen, select the Navigation menu (the 4 stacked horizontal lines in the upper left corner).

- Select the Services > Services catalog menu item.

-
Select the Databases checkbox on the left.
-
Click the DataStage service tile (it's likely at the bottom).

-
Using the Select a region dropdown, select the Dallas region from the list.
-
Scroll down the service page.

- Select the Lite plan by clicking on this plan's tile. You will see a checkmark appear on the right of the Lite plan.

-
For the Service name, enter any name you want or accept the supplied default.
Note: This example removes the --xx default characters at the end of the service name and simply names it DataStage. You can name the service whatever you want, or take the default name.
-
Using the Select a resource group dropdown, select a resource group from the list or take the default displayed.
Note: Services have to be assigned to a cloud account resource group. IBM Cloud automatically creates a resource group when you register for an IBM Cloud account. This resource group is named Default. If you have not created any additional resource groups, or renamed the Default resource group, you will only have one resource group and it will be automatically chosen for you and greyed out.
This example shows a resource group named Cloud Pak for Data from the list because the cloud account, where these screen shots that were taken from, has multiple resource groups defined.
-
Click the Create button.

The Create button will be greyed out and turn to Creating.

Upon successful completion, you will be taken to your Cloud Pak for Data account Service instances section. Make sure (look at the highlighted columns on the screen shot) you deployed a Lite service Plan, that it was placed in the Resource Group you specified, and that the service Status is Active.
- Click the Add service + button to create any additional required Data fabric lab services in the Required Services table above.
Repeat the process you just followed to deploy the DataStage service for all the remaining required services using the information for each service. The Service name provided in the information for each service is only a recommendation. You can name these services whatever you want and assign them to whatever resource group you want. However, make sure you choose the Lite plan so you do not get charged for the services you provision.
3. AI / Machine Learning Services
You will create 5 services from the AI / Machine Learning category. They are listed in the order as they appear in this category in the Cloud Pak for Data interface. Follow the previous instructions for the following services in this category:

Watson OpenScale
-
Select the AI / Machine Learning checkbox on the left.
-
Click the Watson OpenScale service tile.
-
Using the Select a region dropdown, select the Dallas region from the list.
-
Click the Lite plan tile.
-
Enter a Service name of Watson OpenScale or whatever name you prefer.
-
Select the Resource group of your choice or take the default.
-
Click the Create button.
-
Verify the service was created successfully with the Lite plan.
-
Select the Add service button to add the next service.
Watson Studio
-
Select the AI / Machine Learning checkbox on the left.
-
Click the Watson Studio service tile.
-
Using the Select a region dropdown, select the Dallas region from the list.
-
Click the Lite plan tile.
-
Enter a Service name of Watson Studio or whatever name you prefer.
-
Select the Resource group of your choice or take the default.
-
Click the Create button.
-
Verify the service was created successfully with the Lite plan.
-
Select the Add service button to add the next service.
Watson Knowledge Catalog
-
Select the AI / Machine Learning checkbox on the left.
-
Click the Watson Knowledge Catalog service tile.
-
Using the Select a region dropdown, select the Dallas region from the list.
-
Click the Lite plan tile.
-
Enter a Service name of Watson Knowledge Catalog or whatever name you prefer.
-
Select the Resource group of your choice or take the default.
-
Click the Create button.
-
Verify the service was created successfully with the Lite plan.
-
Select the Add service button to add the next service.
IBM Match 360 with Watson
-
Select the AI / Machine Learning checkbox on the left.
-
Click the IBM Match 360 with Watson service tile.
-
Using the Select a region dropdown, select the Dallas region from the list.
-
Click the Lite plan tile.
-
Enter a Service name of IBM Match 360 with Watson or whatever name you prefer.
-
Select the Resource group of your choice or take the default.
-
Click the Create button.
-
Verify the service was created successfully with the Lite plan.
-
Select the Add service button to add the next service.
Watson Machine Learning
-
Select the AI / Machine Learning checkbox on the left.
-
Click the Watson Machine Learning service tile.
-
Using the Select a region dropdown, select the Dallas region from the list.
-
Click the Lite plan tile.
-
Enter a Service name of Machine Learning or whatever name you prefer.
-
Select the Resource group of your choice or take the default.
-
Click the Create button.
-
Verify the service was created successfully with the Lite plan.
-
Select the Add service button to add the next service.
4. Database Services
You will create 2 services from the Databases category. They are listed in the order as they appear in this category in the Cloud Pak for Data interface. Follow the instructions for the following services in this category:

Db2
-
Select the Databases checkbox on the left.
-
Click the Db2 service tile.
-
Using the Select a region dropdown, select the Dallas region from the list.
-
Click the Lite plan tile.
-
Enter a Service name of Db2 or whatever name you prefer.
-
Select the Resource group of your choice or take the default.
-
Enter your work Email address or leave it blank. This is an optional field.
-
Click the Create button.
-
Verify the service was created successfully with the Lite plan.
-
Select the Add service button to add the next service.
Watson Query
-
Select the Databases checkbox on the left.
-
Select the Watson Query service.
-
Using the Select a region dropdown, select the Dallas region from the list.
-
Select the Lite plan.
-
Enter a Service name of Watson Query or whatever name you prefer.
-
Select the Resource group of your choice or take the default.
-
Leave all the Node settings to the default values (You can't change them anyway).
-
Click the Create button.
-
Verify the service was created successfully with the Lite plan.
-
Select the Add service button to add the next service.
5. Storage Service
You will create the Cloud Object Storage service from the Storage category:

- Select the Storage checkbox on the left.
Cloud Object Storage
It is very likely that you already have a Cloud Object Storage service in your IBM Cloud account because when you sign up for Cloud Pak for Data as a Service, it is supposed to automatically provision a Cloud Object Storage service for you. But, this is not always the case. If you have this service, you can skip this section. Otherwise proceed with the instructions below:
- Click the Cloud Object Storage service tile.
Note: Remember that this service creation will open up a new tab (or Window, depending on your browser settings) in your browser and take you to your IBM Cloud account. You will need to come back to this Cloud Pak for Data tab (or window) in your browser when the service creation is completed (so don't close it):
-
Click the IBM Cloud tile under the Choose an Infrastructure section.
-
Click the Lite plan tile.
-
Enter a Service name of Cloud Object Storage or whatever name you prefer.
-
Select the Resource group of your choice or take the default.
-
Click the Create button.

Note: Sometimes the Cloud Object Storage service takes a while to provision. If you are on the service page with a spinning wheel, wait a minute and then refresh the page using your browser's website refresh method. It will eventually show up, so be patient. When it does appear, complete the steps below:
After the service provisions successfully, you will be taken to the home page for the Cloud Object Storage service. Before you go back to your Cloud Pak for Data account, that should still be open in a tab (or window) in your browser, it's critical to verify that this service was created with the Lite plan.
-
Select the Plan menu item on the left side menu.
Make sure you provisioned the Lite plan (the type of plan is prominently displayed on the web page).
-
Return to the Cloud Pak for Data tab (or window) in your browser to go back to your Cloud Pak for Data account.
Validate the Services
You browser tab should still be on the Services catalog page where you chose to create the Cloud Object Storage service before you were taken to your IBM Cloud account.

- Select the Navigation menu (the 4 stacked horizontal lines in the upper left corner).

- Select the Services > Service instances menu item.

You should see your 9 provisioned Lite services in your Cloud Pak for Data account in alphabetical order by name. Make sure they are all Lite services with an Active status before proceeding to the next section. If you do not see all of your services that you were instructed to provision, they might be provisioned in different locations or under different resource groups. If that is the case, use the filters provided on top of the Service instances grid and select the Locations and Resource Groups you provisioned them in.

Note: Make sure you select the checkbox next to the Global location in the Locations filter because the Cloud Object Storage service is a global service and it will not show up in the service list if you don't select the Global location in the Locations filter. This is critical because if you do not select it from Locations filter it will not appear in the Cloud Pak for Data interface as a storage choice when you attempt to create a project or catalog.
If you have used Cloud Pak for Data as a Service before, you may have lots of other service instances. You can also use the search area at the top of the grid to dynamically filter your service instances.
Stay in the Service instances section to begin the instructions in the next section!
Create Platform Asset Catalog
In this section you will create the Platform assets catalog that is needed by the Data fabric labs to house all global Platform connections. You will not be able to create Platform connections in the next section until you create the Platform assets catalog.
The following steps will verify what catalogs you have in your environment, and ensures that the Watson Knowledge Catalog service in your account is properly initialized, so you can take the appropriate actions if needed.

- Select the Navigation menu (the 4 stacked horizontal lines in the upper left corner).

- Select the Catalogs > View all catalogs menu item.

If you are in a new and fresh Cloud Pak for Data as a Service account, the catalog section in your Cloud Pak for Data environment will most likely look like the screen shot above.

It is very possible that you already have a Platform assets catalog or that you have a Platform assets catalog from another cloud account and have other catalogs in your environment similar to the screen shot above.
If you have a Platform assets catalog like the screen shot above, that is owned by you with Admin authority, and for your account (not for another cloud account like the Techzone Outcomes one displayed), you already have a Platform assets catalog and do not have to create one. You can proceed to the next step to create platform connections.
If you do not have any catalogs, or do not have a Platform assets catalog, follow these steps to create a Platform assets catalog:

- Select the Navigation menu (the 4 stacked horizontal lines in the upper left corner).

- Select the Data > Platform connections menu item.

- Click the Create catalog button.

- Select the X on the help message that appears at the top right to close it.

-
Select the Update original assets radio button for the asset handling option.
Note: This is the recommended option. You can choose the option that works best for your environment. This option keeps any original assets and only updates missing or new values. This setting is dynamic so you can always change it at anytime.
-
Use the Object storage instance dropdown and select an object storage instance where you want to create the catalog.
-
Click the Create button.

A message is displayed notifying you that Cloud Pak for Data is creating the platform assets catalog and that it might take a minute.

After the creation process is complete:
-
Click the X on the Platform assets catalog successfully created! message at the top to close it.
-
Click the X on the Add your platform users to the catalog message to close it.
-
Select the Connections tab.
Create Platform Connections
In this section you will create the Platform connections that are used by the Data fabric labs. Take the time to define these connections now because you will be instructed to use them in the labs. If you don't create them now, they will not show up when you do the labs and you will have to come back to this section to define them because this is the only place this information is provided.
You will add 3 platform connections, that are also used by the Data and AI Live Demos, to house Employee, Customer, and Warehouse data:
The screen shots in this section were captured in a new Cloud Pak for Data as a Service account that does not have any platform connections. If you already have platform connections, your environment may look different but the results should be the same.
1. Cloud Object Storage
Create a connection to the Cloud Object Storage bucket that contains the files needed by the Data fabric labs.

- Click the New connection + button.

-
Type cloud object in the search area.
-
Select the IBM Cloud Object Storage connector.
-
Click the Select button.
Perform the following steps to complete the creation of the Cloud Object Storage connection:

- Copy the text below and paste it into the Name field:
Cloud Object Storage
- Copy the text below and paste it into the Description field:
IBM Cloud Object Storage bucket that contains data files used for analytics and AI.
- Copy the text below and paste it into the Bucket field:
cpd-outcomes
- Scroll down the page until the Login URL field is at the top of the page.

- Copy the text below and paste it into the Login URL field:
https://s3.us-south.cloud-object-storage.appdomain.cloud
- Using the Authentication method dropdown, select Resource Instance Id, API Key, Access Key and Secret Key as the authentication method from the list.
The Resource instance ID and Access key fields will appear.
- Copy the text below and paste it into the Resource instance ID field:
crn:v1:bluemix:public:cloud-object-storage:global:a/feb0a088323a45db90b8dd694b314c53:88ee55e3-fc61-46a9-9ccd-e81593585ba6::
The API key field will appear under the Resource instance ID field.
- Copy the text below and paste it into the API key field:
_-W6DMVd3cQV7YrWIdmExhX29ApoDIBAu4y0C07dCMPB
- Copy the text below and paste it into the Access key field:
bd3d4829929a41ac8a2e8e7ab58e5cdb
The Secret key field will appear below the Access key field.
- Copy the text below and paste it into the Secret key field:
6f3fafc225b2c8527f22d13e2c67034f4da989dc08adffac
- Scroll down the page until you see the Location and sovereignty settings.

- Click the Select location button.

-
Select IBM-Dallas from the locations list.
-
Click the Select button.

United States of America will be automatically filled in as the Sovereignty.
- Click the Confirm confirmation link between the Location and the Sovereignty fields.

You will see a green check mark with a Confirmed! status.
-
Click the Test connection button in the upper right corner.
-
When the test is successful, dismiss The test was successful message and click on the Create button. If the test is not successful, loop back through all of the previous steps and make sure you entered everything correctly and try the test again. When it succeeds, select the Create button.
2. Data Warehouse
Create a connection to the Db2 Warehouse database that contains the data needed by the Data fabric labs.

- Click the New connection + button.

-
Type db2 warehouse in the search area.
-
Select the IBM Db2 Warehouse connector.
-
Click the Select button.
Perform the following steps to complete the creation of the Data Warehouse connection:

- Copy the text below and paste it into the Name field:
Data Warehouse
- Copy the text below and paste it into the Description field:
Database that contains enterprise data needed by the business for analytics and AI.
- Copy the text below and paste it into the Database field:
BLUDB
- Scroll down the page until the Hostname or IP address field is at the top of the page.

- Copy the text below and paste it into the Hostname or IP address field:
db2w-ovqfeqq.us-south.db2w.cloud.ibm.com
-
The Port should be set to 50001 by default. Leave the default value.
-
Using the Authentication method dropdown, select Username and password from the list.
-
Copy the text below and paste it into the Username field:
cpdemo
- Copy the text below and paste it into the Password field:
C!oudP@k4DataDem0s
-
The Port is SSL-enabled checkbox should be checked by default. Leave it checked.
-
Scroll down the page until you see the Location and sovereignty settings.
- Click the Select location button.
-
Select IBM-Dallas from the locations list.
-
Click the Select button.
United States of America will be automatically filled in as the Sovereignty.
- Click the Confirm confirmation link between the Location and the Sovereignty fields.

You will see a green check mark with a Confirmed! status.
-
Click the Test connection button in the upper right corner.
-
When the test is successful, dismiss The test was successful message and click on the Create button. If the test is not successful, loop back through all of the previous steps and make sure you entered everything correctly and try the test again. When it succeeds, select the Create button.
3. Third Party Data
Create a connection to the PostgreSQL database that contains the data needed by the Data fabric labs.

- Click the New connection + button.

-
Type postgres in the search area.
-
Select the PostgreSQL connector.
-
Click the Select button.
Perform the following steps to complete the creation of the Third Party Data connection:

- Copy the text below and paste it into the Name field:
Third Party Data
- Copy the text below and paste it into the Description field:
Database that contains third party data needed by the business for analytics and AI.
- Copy the text below and paste it into the Database field:
3RDPARTY
- Scroll down the page until the Hostname or IP address field is at the top of the page.

- Copy the text below and paste it into the Hostname or IP address field:
85331fa6-6b56-4355-935e-290f3ac8aa8c.8117147f814b4b2ea643610826cd2046.databases.appdomain.cloud
- Copy the text below and paste it into the Port field:
31128
- Copy the text below and paste it into the Username field:
cpdemo
- Copy the text below and paste it into the Password field:
C!oudP@k4DataDem0s
-
Select the checkbox next to the Port is SSL-enabled option.
-
Scroll down the page until you see the Location and sovereignty settings.

- Click the Select location button.

-
Select IBM-Dallas from the locations list.
-
Click the Select button.

United States of America will be automatically filled in as the Sovereignty.
- Click the Confirm confirmation link between the Location and the Sovereignty fields.

You will see a green check mark with a Confirmed! status.
-
Click the Test connection button in the upper right corner.
-
When the test is successful, dismiss The test was successful message and click on the Create button. If the test is not successful, loop back through all of the previous steps and make sure you entered everything correctly and try the test again. When it succeeds, select the Create button.

You should now see the 3 new connections in your Platform connections list.
- Click the IBM Cloud Pak for Data label on the toolbar to go to the Cloud Pak for Data home page.
Congratulations! You have completed all the preparation steps and are ready to begin the Data fabric labs.