Working with MinIO
Heads Up! Quiz material will be flagged like this!
Introduction to Object Storage
A major appeal of watsonx.data is that vast amounts of data can be stored in object storage at a relatively low cost, with fit-for-purpose query engines (like Presto and Spark) accessing the data concurrently. This allows for offloading existing data from a client’s enterprise data warehouse (EDW), where the performance requirements and/or frequency with which the data is accessed don’t justify the costs of having that data in the warehouse (keep in mind that costs aren’t limited to the data storage itself; there are costs in preparing and moving data into the warehouse, additional storage costs for larger backup images, the impact of running relatively low priority workloads at the same time as higher priority workloads, and so on).
Watsonx.data Developer Edition includes a local S3-compatible object store called MinIO. Rather than using an external S3 object store (which is certainly possible with watsonx.data), this lab uses the local MinIO object store.
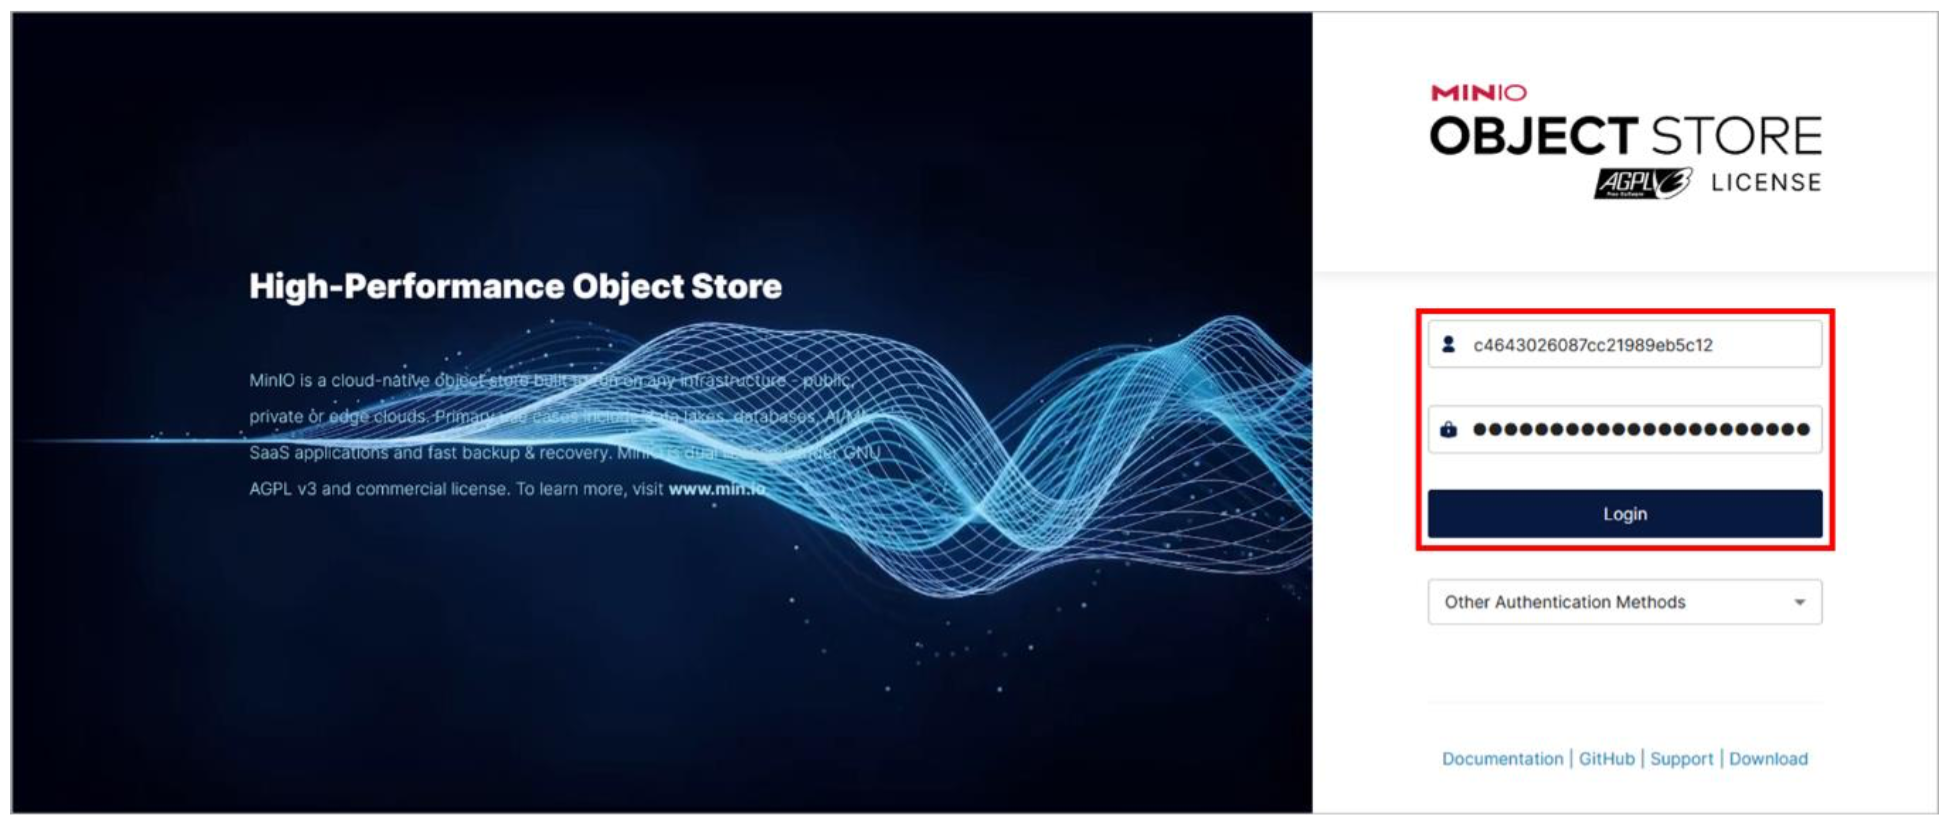
You will need MinIO credentials to log into and use the MinIO console. This includes an access key (username) and a secret key (password). These values are specific to your environment and are stored as environment variables in the Presto container.
- Open a terminal command window to the watsonx.data server as the root user.
sudo su -bash
- Run the following command to extract and display the access key (username). Make note of this and keep it in a location you can refer to later.
docker exec ibm-lh-presto printenv | grep LH_S3_ACCESS_KEY | sed 's/.*=//'
bash- Run the following command to extract and display the secret key (password). Make note of this and keep it in a location you can refer to later.
docker exec ibm-lh-presto printenv | grep LH_S3_SECRET_KEY | sed 's/.*=//'
bash- Open the MinIO console in a new browser window. The URL can be found in your TechZone reservation details.
Note: You may be warned about a potential security risk, in which case you can proceed as you did with the watsonx.data console earlier.
- Refer to the MinIO credentials you copied above and enter the access key for the Username and the secret key for the Password. Click the Login button.
This opens the Object Browser screen. There are two buckets that exist by default: hive-bucket and iceberg-bucket. There are a number of objects within these buckets already – the pre-populated tables in the hive-bucket and the tables you’ve created in the iceberg-bucket.
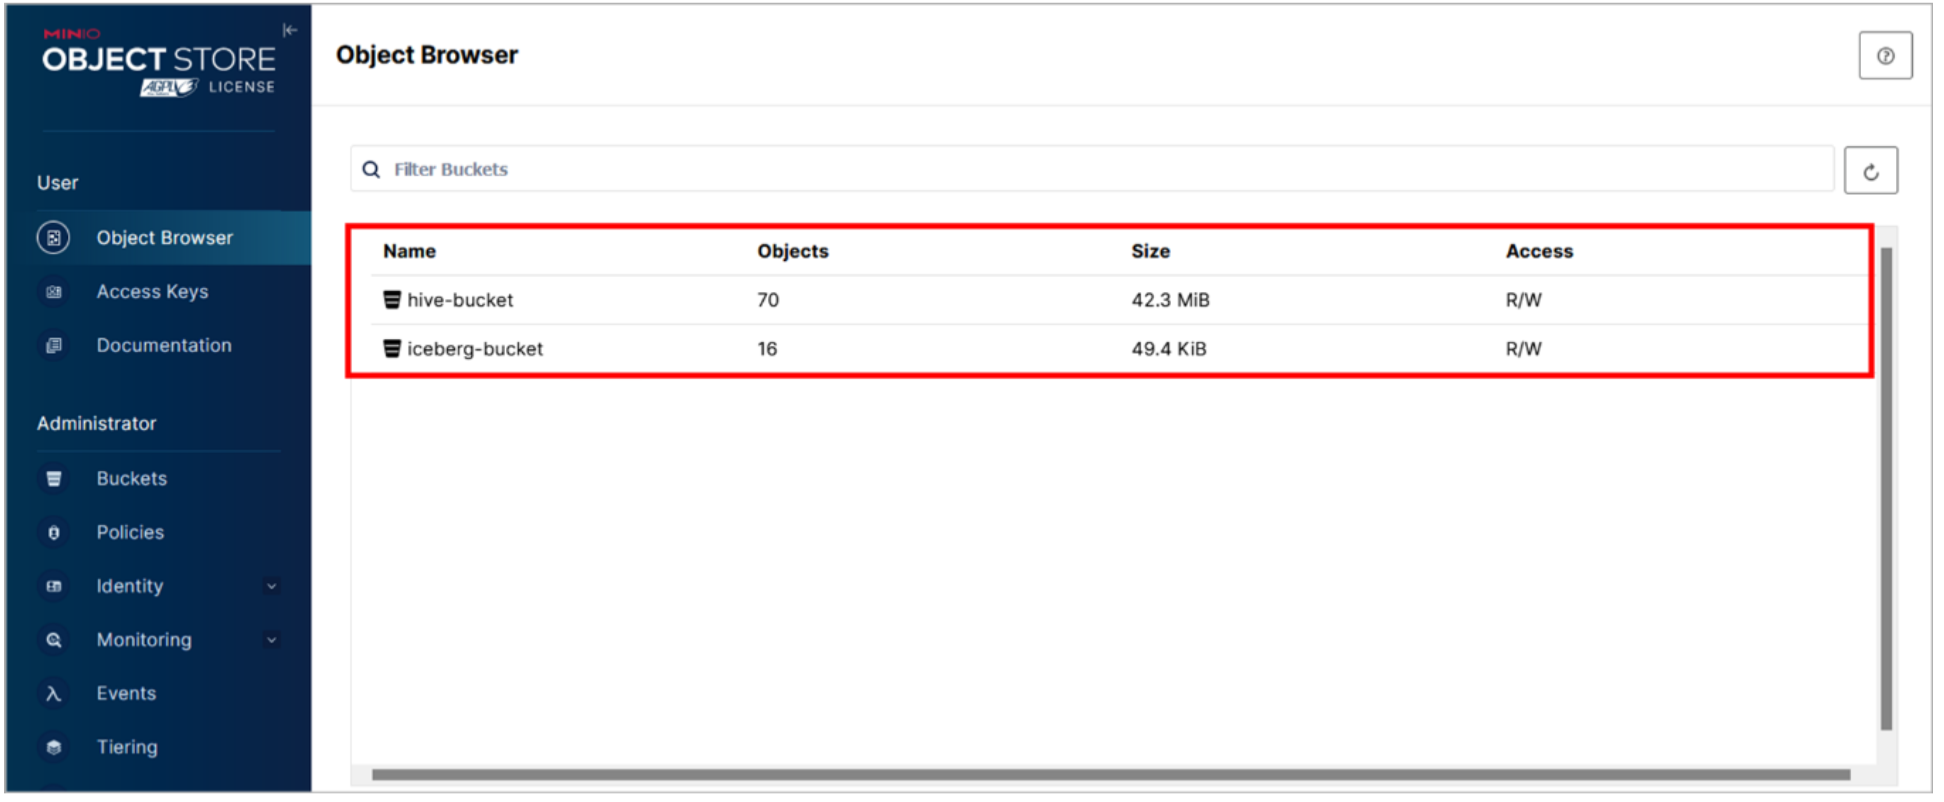
- Refer back to the Infrastructure manager screen in the watsonx.data console and note how these two buckets were previously registered with watsonx.data.

All tables created in the hive_data catalog have their files (objects) in the hive-bucket bucket. Likewise, all tables created in the iceberg_data catalog have their files (objects) in the iceberg-bucket bucket.
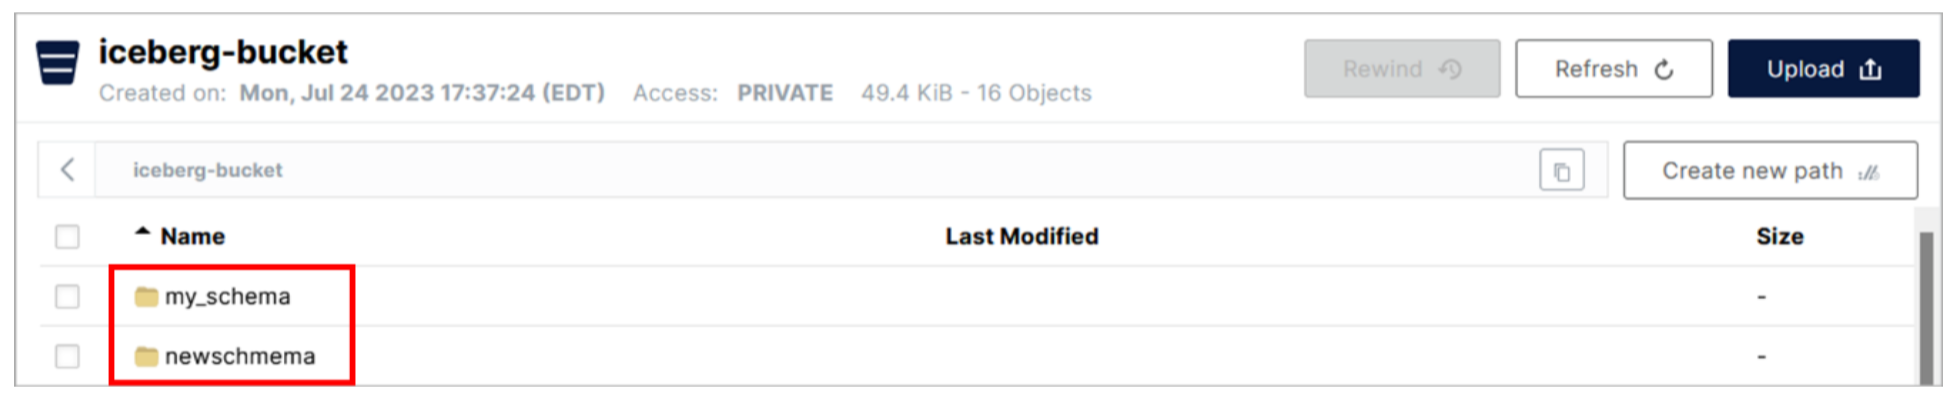
- Go back to the MinIO console. Click the row for the iceberg-bucket bucket.
There are two folders listed, one for each schema that has been created in the catalog associated with this bucket (iceberg_data). Watsonx.data uses the schema name for the folder when you create it (such as when you created the schema my_schema earlier in the lab). Recall that when you created the schema newschema using the Presto CLI, you specified the location as 's3a://iceberg-bucket/newschema', which matches what you see here.
Quiz material: pay attention to the S3 object's structure
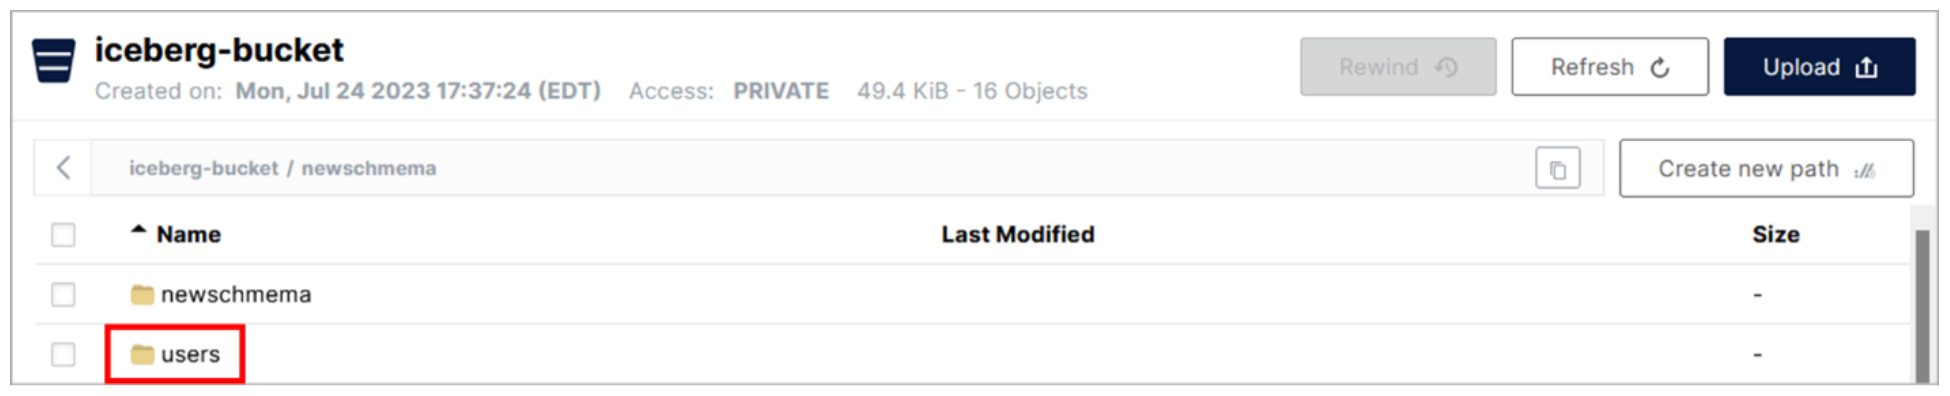
- Click the row for the newschema folder.
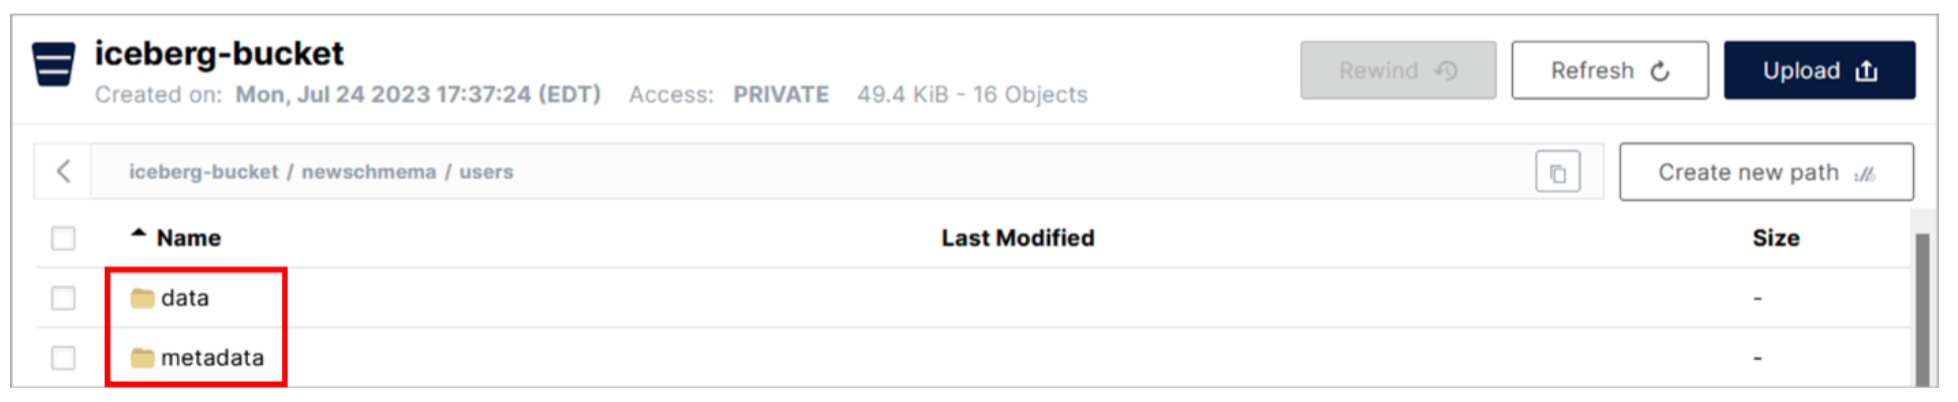
In the newschema folder is a sub-folder called users. When you created the users table in the Presto CLI earlier, it created this sub-folder with the same name as the table.
- Click the row for the users folder.
There are two sub-folders within the user’s folder. The data folder contains the Parquet file(s) holding the actual data for the table. The metadata folder contains a series of metadata files (of varying data file formats) used by Iceberg.
- Review the files within the data and metadata folders. You will see a mix of Parquet and Avro files.
To return back up the folder hierarchy, use the breadcrumbs at the top of the navigation pane. Clicking the < icon brings you to the parent of the folder you are currently in.

Congratulations, you've reached the end of lab 104.
Click, lab 105 to start next lab.